
Error handling refers to anticipation, detection, and resolution of programming, application, and communication errors. Specialized programs, called error handlers, are available for some applications. The best programs of this type forestall errors if possible, recover from them when they occur without terminating the application, or (if all else fails) gracefully terminate an affected application and save the error information to a log file.
Programming error is the one that can be prevented mostly. Such an error can occur in syntax or logic. Syntax errors, which are a typographical mistake or improper use of special character, are handled by rigorous proofreading. Logic errors, also called bugs, occur when executed code does not produce the expected or desired result. Logic errors are best handled by meticulous program debugging. This can be an ongoing process that involves, in addition to the traditional debugging routine, beta testing prior to official release and customer feedback after release.
ASP.Net Web API is a lightweight framework from Microsoft that can be used for building stateless RESTful services that run on HTTP. Exceptions are errors that occur at runtime, and exception handling is the technique of handling runtime errors in your application code. You should have a good idea of how you can handle exception in Web API and send out appropriate error codes and error messages from your Web API controller methods.

Product class:
using System.Net;
using System.Net.Http;
using System.Threading;
using System.Threading.Tasks;
using System.Web.Http;

namespace Errorhandlingpractise1.Models
{
    public class Product : IHttpActionResult
    {
        public int Id { get; set; }
        public string Name { get; set; }
        public string Category { get; set; }
        public decimal Price { get; set; }
        public string ErrorMessage { get; set; }

        public HttpStatusCode StatusCode { get; set; }
        public Product Response { get; set; }

        public Product()
        {

        }

        public Product(HttpStatusCode statusCode, Product response)
        {
            this.StatusCode = statusCode;
            this.Response = response;
        }

        public HttpResponseMessage CreateResponse(HttpStatusCode statusCode, object
                response)

        {
            HttpRequestMessage request = new HttpRequestMessage();
           request.Properties.Add(System.Web.Http.Hosting.HttpPropertyKeys.HttpConfigurationKey,

    new HttpConfiguration());

            HttpResponseMessage httpResponse = request.CreateResponse(statusCode, response);

            return httpResponse;
        }

        public Task<HttpResponseMessage> ExecuteAsync(CancellationToken cancellationToken)
        {
            if (!string.IsNullOrEmpty(this.ErrorMessage))

                return Task.FromResult(CreateResponse(this.StatusCode, this.ErrorMessage));
                return Task.FromResult(CreateResponse(this.StatusCode, this.Response));
        }
    }
}
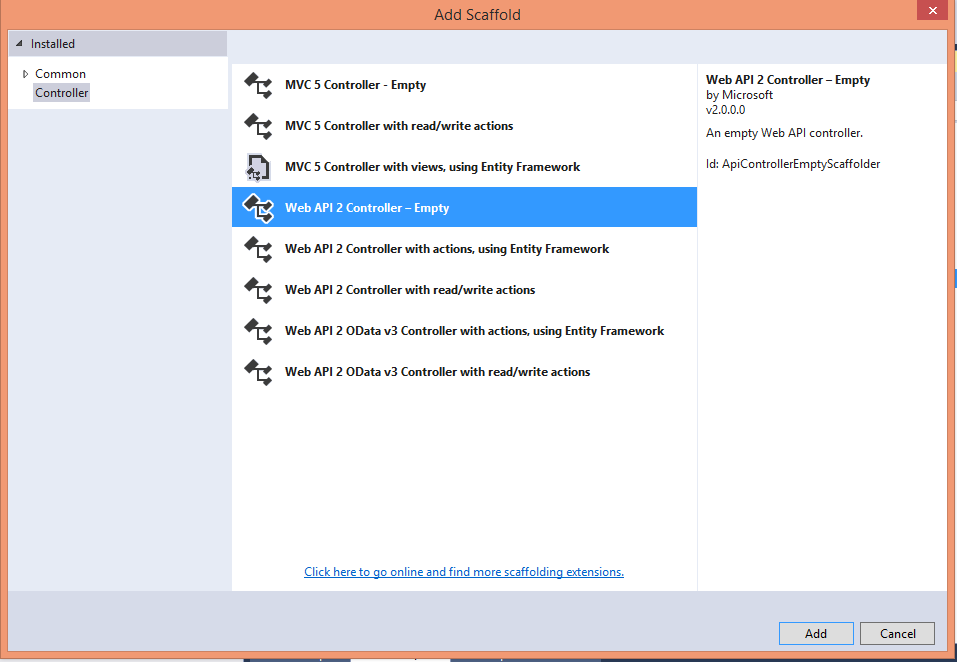
Note: I have used ASP.NET MVC, ASP is already Familiar with controllers. Web API controllers are similar to MVC controllers, but inherit the API Controller class instead of the controller class.
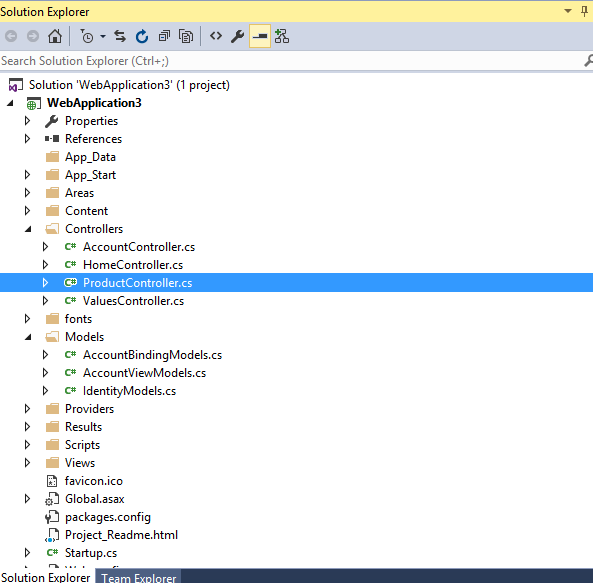
Products are stored in a fixed array in the controller class. The controller defines two methods that return products:
using Errorhandlingpractise1.Models;
using System;
using System.Collections.Generic;
using System.Linq;
using System.Net;
using System.Net.Http;
using System.Threading.Tasks;
using System.Web.Http;

namespace Errorhandlingpractise1.Controllers
{
    public class ProductsController : ApiController
    {
        Product[] products = new Product[]
        {
            new Product { Id = 1, Name = "Toys", Category = "Teady bear", Price = 100 },
            new Product { Id = 2, Name = "Watch", Category = "Fastrack", Price = 35.75M },
            new Product { Id = 3, Name = "Laptop", Category = "Dell", Price = 16.99M }
        };


        public IEnumerable<Product> GetAllProducts()
        {
            return products;
        }

        public Product GetProduct(int id)
        {
            var product = products.FirstOrDefault(p => p.Id == id);
            try
            {

                if (product == null)
                {
                    var resp = new HttpResponseMessage(HttpStatusCode.NotFound)
                    {
                        Content = new StringContent(string.Format("No product with ID = {0}", id)),
                        ReasonPhrase = "Product ID Not Found"
                    };
                    throw new HttpResponseException(resp);

                                    }

                return new Product(HttpStatusCode.OK, product);

            }
            catch (Exception ex)
            {

                var response = new Product(HttpStatusCode.NotFound, product) { ErrorMessage = "Product ID Not Found" };

                return response;
            }
        }
    }
}
Postman is a REST Client that runs as an application inside the Chrome browser. It is very useful for interfacing with REST APIs such as those found in Azure. In the Chrome browser navigate to https://chrome.google.com/webstore then search for Postman and it will show as offered by www.getpostman.com. Click the Add to Chrome button to install the application into your browser. Click Add in the dialog displayed to confirm installation.
The Chrome App Launcher will be added to your Desktop and Taskbar. Select the App Launcher and click the Postman icon which will launch the application. You can then type in the various REST calls you wish to make using all the various REST verbs such as GET, POST, PUT etc.
If you wish to use this with Azure you need two pieces of information. Your Subscription ID and also a JWT (JSON Web Token which is an authorization token). The Subscription ID can be found by viewing the portal and browsing Subscriptions or using Get-Azure Subscription. To get the JWT you will need to run the PowerShell code below, making sure to change the adTenant to your tenant. This code is part of code I previously covered in FAQ http://windowsitpro.com/azure/communicate-azure-rest-powershell.
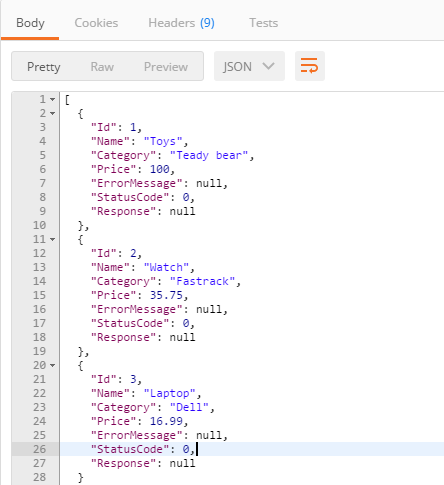
| Controller | URL |
| GetAllProducts | http://localhost/Errorhandlingpractise1/api/Products |
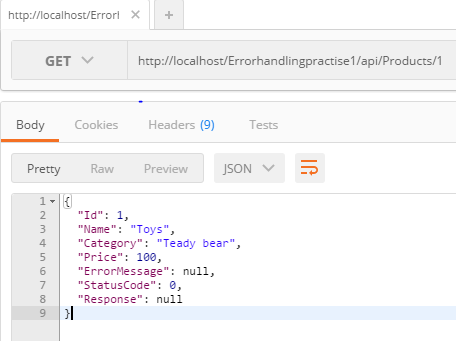
| Controller | Url |
| GetProduct | http://localhost/Errorhandlingpractise1/api/Products/1 |
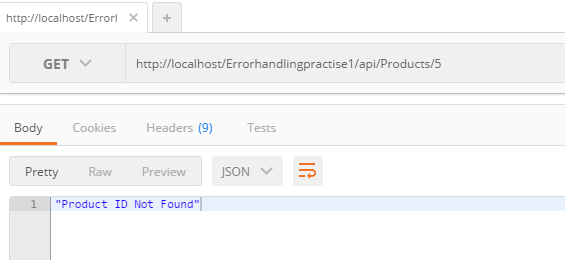
| Controller | Url |
| GetProduct | http://localhost/Errorhandlingpractise1/api/Products/5 |
ASP.Net Web API is a lightweight framework from Microsoft that can be used for building stateless RESTful services that run on HTTP, ASP.NET Web API supports fully functional exception handling to handle runtime errors,
We can use HttpResponseException when the possibility of exception is known by us. In the above example, we have thrown exception using HttpResponseException class as we know there is a chance to employee not found in the database, in this case it makes sense to return a HttpNotFound 404 status instead of the regular 200 code. Exceptions are errors that occur at runtime, and exception handling is the technique of handling runtime errors in your application code. We can handle the exception in Web API and send out appropriate error codes and error messages from your Web API controller methods.
[adrotate banner=”4″]